Lou Hattersley explains how to transfer slow-motion
movies from your iPhone to a Mac
The iPhone 5s introduced an appealing new
feature to the iPhone 5s: slo-mo (slow motion)
video. In this tutorial we’ll show you how to
record an eye-catching slow motion video, share
the video with friends, transfer it to a Mac OS X
computer or upload it to YouTube.
When recording a slo-mo video the iPhone 5s
captures the scene at an extremely high speed
(120fps) and then slows it down in the middle.
It’s perfect for recording action shots: like kids
playing on swings, cats playing with toys or when
you’re watching a sport event. By capturing the
video in slow motion you can really focus in on
the action. And it’s a neat party trick for iPhone 5s
owners. In this feature we’re going to take a look
at recording slo-mo video, and transferring the
video clip to a Mac.
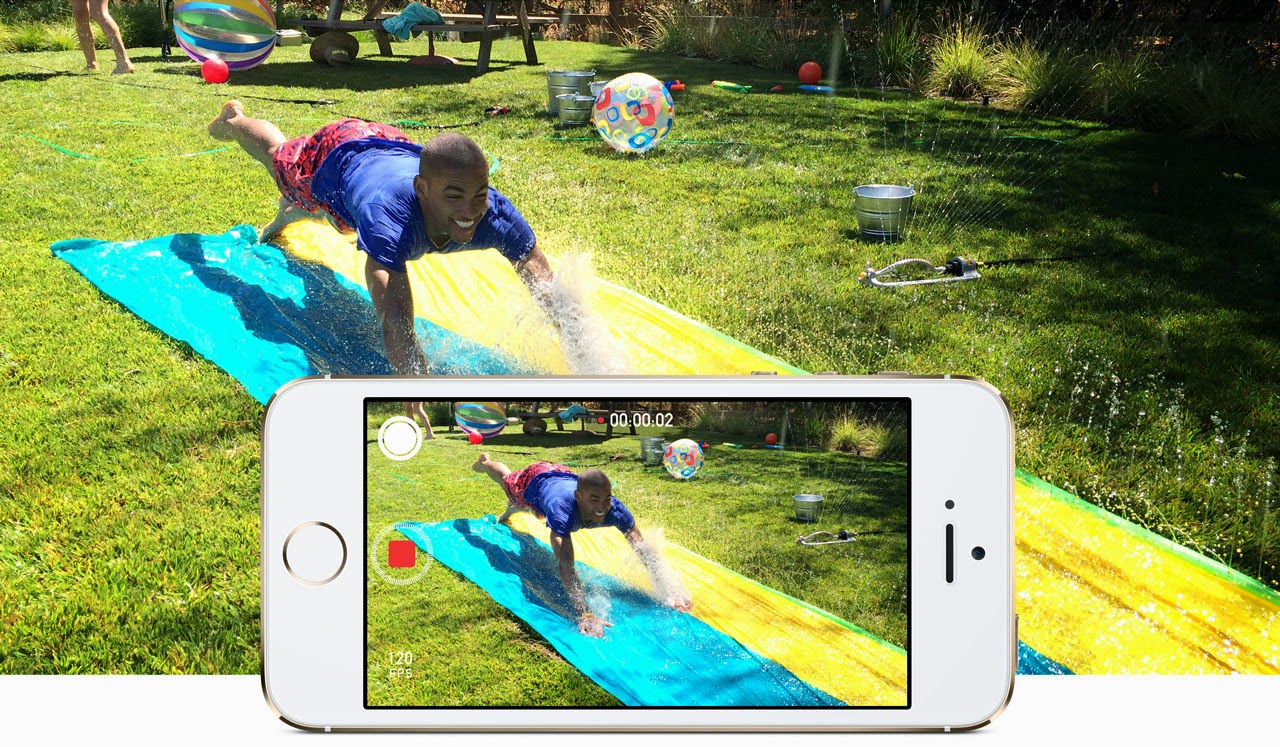
Step 1: Record slo-mo video

Camera app and slide your finger down the screen
so the Photo setting turns to video, now slide down
again to change the setting Slo-Mo (it will be marked
in yellow). The Camera app will now record the
video at 120fps, but play it at a slower rate. Tap on
the red Record button and capture some action; tap
the Record button again to finish capturing video.
Step 2: Play back
Now tap on the Camera Roll icon (bottom-right)to view the video you’ve just recorded. When you
play back the video clip it’ll start normally, then
slow down in the middle, before speeding up
again to the end.
Step 3: Adjust the slo-mo e ffect

the slow motion e ffect to time it with the action you
recorded. Tap the screen on the video in Camera
Roll to bring up the onscreen controls. Underneath
The Video Preview bar is a Slo-Mo control bar made
up of small vertical lines. The area in the middle
(where the lines are spaced apart) is the slo-mo
part. You can drag the two black lines left and right
to determine the part where the video will enter
slo-mo mode, and return to normal playback.
Step 4: AirDrop the video
Bring up the onscreen controls and tap on Share inthe bottom-left of the screen. Ensure the video has
a blue tick in it and tap on Next and pick a sharing
method. It’s usually best to use AirDrop to share
video clips between di fferent iOS devices.
Step 5: Sharing the video
If you want to pass the video on to somebody, youcan send video as a Message, Mail or iCloud (as well
as upload to YouTube or Vimeo). Your options may
be limited with longer videos if the file size is too big
for email. But if the video is small enough to send
via email you can always send it to your own email
address and download it from Mail on the Mac.
Step 6: Transfer the video to iPhoto
If you want to import the video to the Mac, then it’sbest to use either iPhoto or Image Capture. Open
the iPhoto app and select the iPhone 5s in the
sidebar now find the video clip in the main window
and tap on Import Selected. You get the option of
leaving the video on the iPhone or removing it. It’s
up to you but eventually you’ll end up with a full
iPhone if you leave video on it.
Step 7: Import a clip using Image Capture
If you work with photos and videos a lot you shouldtake a look at the Image Capture app (located
in Applications). This enables you to browse the
images and video on an iPhone (or other device) and
copy them directly to the Finder. You can simply drag
the video from the main window to the desktop. Or
you can choose a location using the Import to dropdown menu and click on Import or Import All.
Step 8: Play the video
The video will be a file on the desktop (or otherlocation) normally named something like IMG_01234.
MOV. You can double-click the video to play it in
QuickTime. Notice that unlike normal videos there
is an extra blue button marked slo-mo. You can click
this to turn the slow motion e ffect on and off .
Aucun commentaire: